In the desolate, zombie-infested wastelands of Urzikstan, a legend whispered among the bravest operators speaks of a horror beyond comprehension, a creature so monstrous it defies the very laws of the Aether. This is the Greylorm, the undisputed apex predator of Call of Duty: Modern Warfare 3 Zombies, a colossal undead leviathan whose very name sends shivers down the spines of even the most seasoned squads. Summoning this beast is no casual endeavor; it is a deliberate, perilous ritual requiring the collection of four arcane USB Sticks, each pulsating with forbidden Calibration Data. This is not a random encounter; this is a meticulously planned suicide mission that promises ultra-rare rewards... or a swift and gruesome demise. The journey to face the Greylorm is a saga in itself, a test of courage, preparation, and sheer firepower that separates the legends from the cannon fodder.
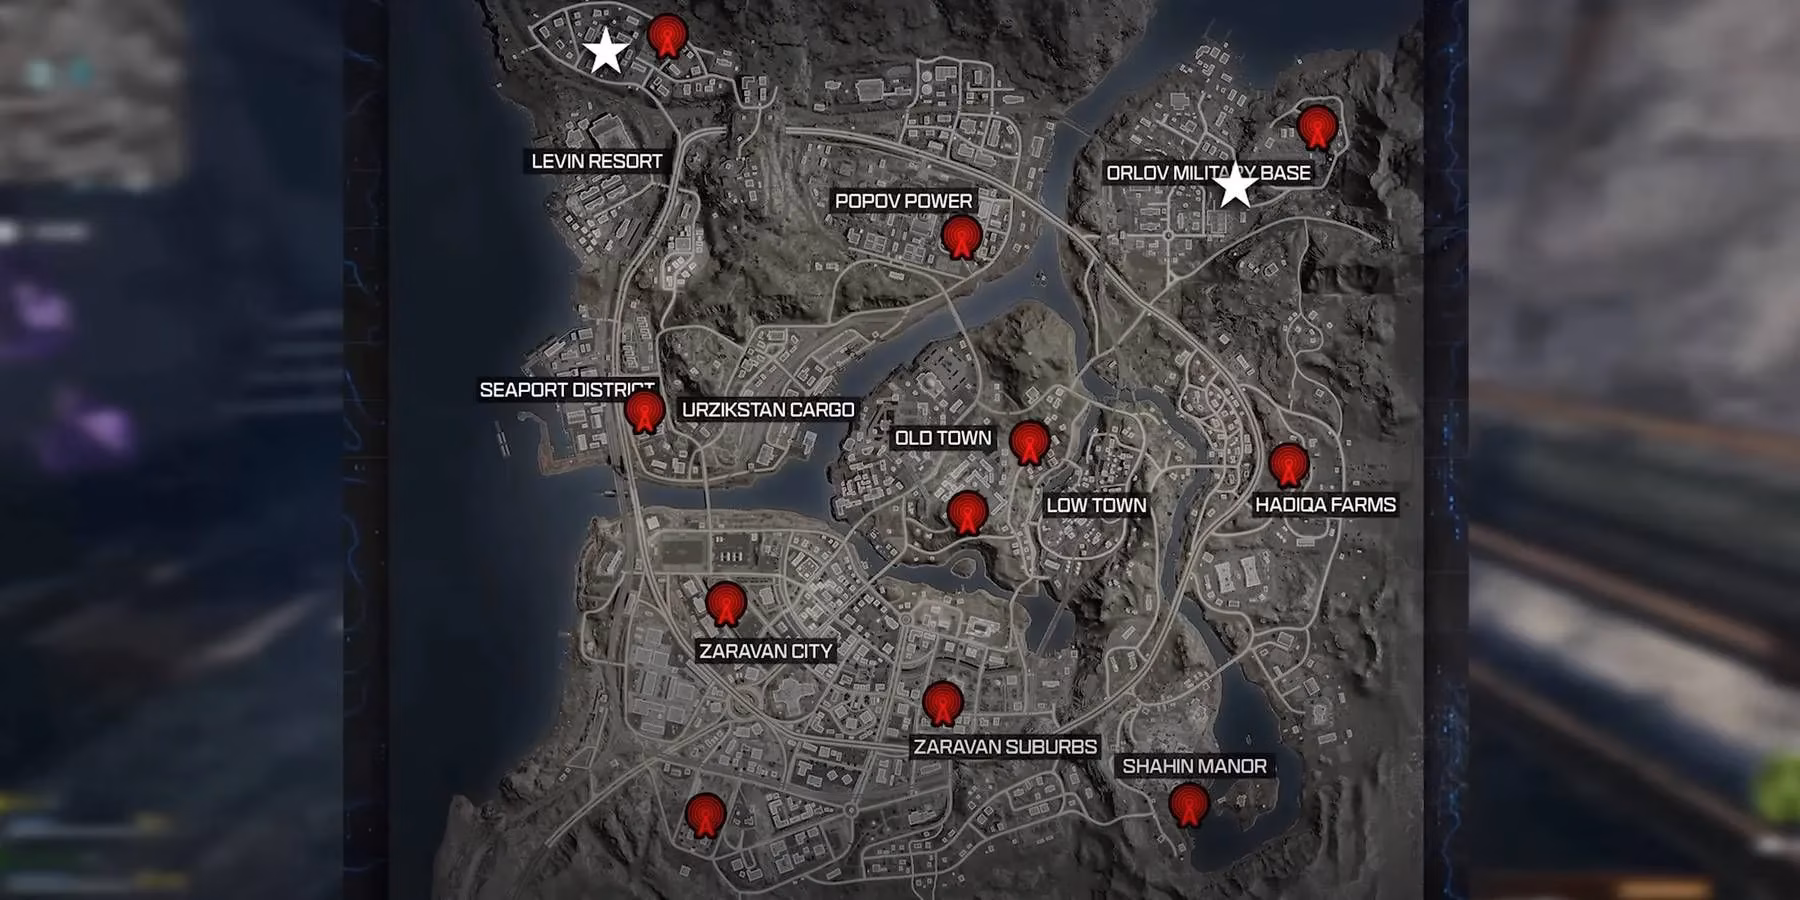
The quest begins not with a bang, but with a desperate scramble for intelligence. To even have a hope of locating the four elusive USB Sticks, one must first undertake a daring reconnaissance mission to the heavily fortified Orlov Military Base, a constant fixture in the treacherous grid sector H2. This isn't a simple loot run. This is a high-stakes infiltration where every corner hides a shambling horror. The prize lies on the second floor: a detailed, priceless blueprint of every UAV Tower scattered across Urzikstan. Securing this map is the first, non-negotiable step. Once studied, the once-blank tactical display on your wrist will erupt with markers, revealing the precise, terrifying locations of the USB Sticks. But be warned, operator: these devices are not tucked away in cozy corners. Many reside deep within crimson-colored high-level threat zones, areas so saturated with Aetheric energy and powerful enemies that they are essentially meat grinders for the unprepared. Venturing in without a small arsenal of Pack-a-Punched weapons, lethal Killstreaks, and a full suite of Perk-A-Colas is nothing short of a death wish.
The collection of the USB Sticks is a marathon of survival. Each one must be secured, its precious Calibration Data extracted. Imagine the tension: your squad, battered and low on ammo, finally securing the fourth stick, only to realize the true challenge has yet to begin. You now hold the keys to the apocalypse, but you need the right door.
The next phase is a frantic search for a very specific and ominous landmark: a Refractor Site. On the chaotic Urzikstan map, these sites are cunningly disguised. The telltale sign? Two Ammo Caches placed suspiciously close together. In a world where resources are scattered to force movement, this unnatural pairing is a glaring beacon. It's the universe's way of saying, "Here be monsters." This is your battleground. But you cannot simply plug in the sticks and go. Oh no. The ritual demands a specific, volatile atmospheric condition: you must be standing within the raging, chaotic heart of an Aether Storm. This electric-purple maelstrom is not just a visual effect; it's a deadly environmental hazard that saps health and scrambles technology. It is within this storm that the Calibration Data is transferred, a siren call that pierces the Aether and summons the beast.
This is your final moment to prepare. What does a squad need to take down a deity of decay?
-
🔥 Weaponry: Think Legendary-tier or better, fully Pack-a-Punched. Weapons like the Lockwood 680 with Slug Rounds or an LMG with a massive ammo belt are not suggestions; they are requirements.
-
⚡ Ammo Mods: Brain Rot to turn enemies into allies, Dead Wire to chain lightning through hordes, or Napalm Burst for continuous damage. Do not leave home without one.
-
🍾 Perk-A-Cola: The holy trinity is Juggernog (more health),Speed Cola (faster reloads), and Stamin-Up (faster movement). Quick Revive is absolutely critical for self-revives or faster teammate pickups.
-
🎯 Killstreaks: A Juggernaut Suit is the ultimate "oh no" button. Sentry Guns provide invaluable covering fire, and Cruise Missiles can deliver a devastating opening salvo.
-
💎 Armor & Self-Revives: A 3-Plate Armor Vest at minimum. Every member must carry at least one Self-Revive Kit. Expect to use it.
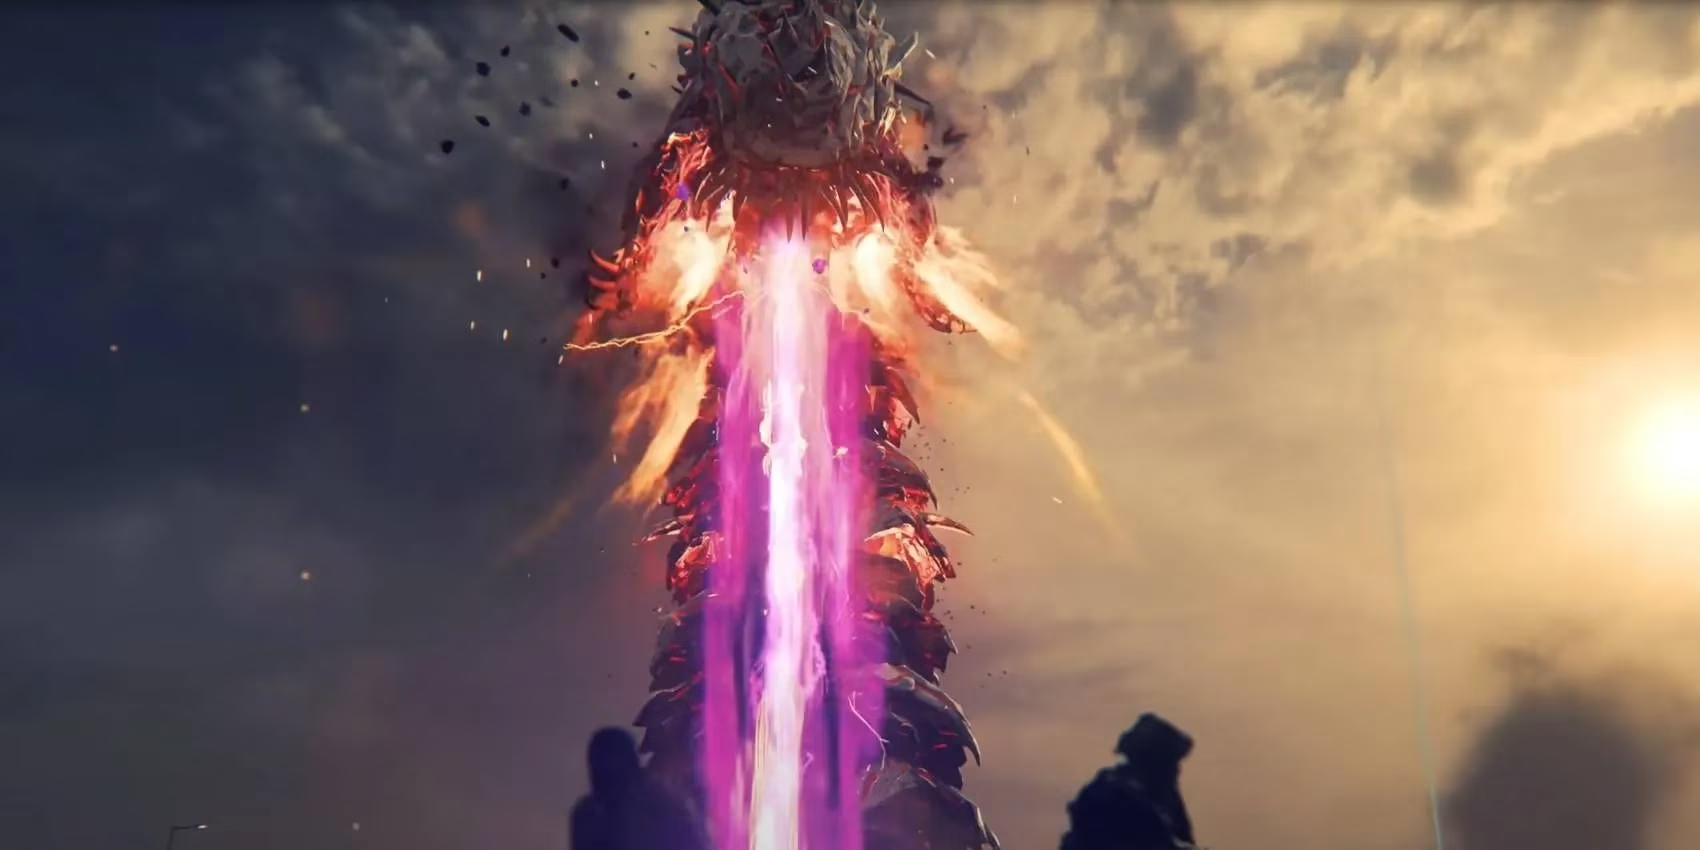
When the storm peaks and the ground trembles, the Greylorm erupts from the earth. This is no ordinary Aether Worm; this is its bigger, angrier, apocalyptic grandfather. Its size is staggering, its shriek deafening. The strategy is simple in theory, brutal in execution: AIM FOR THE WEAK POINTS. These glowing, pulsating nodules along its body are its only vulnerability. Your squad must become a whirlwind of coordinated fire, dodging its earth-shattering slams, avoiding its energy beams, and pouring endless rounds into those weak spots while also managing the endless waves of standard zombies it attracts. It is a chaotic, beautiful ballet of destruction.
Victory, hard-earned and soaked in sweat, brings rewards worthy of the gods. The Greylorm's death throes yield incredibly rare Schematics—blueprints for crafting the most powerful tools and weapons in Modern Warfare 3 Zombies. The XP flood will surge your levels. But the fight isn't over. As the beast falls, a Dark Aether Rift tears open nearby. This is your extraction, your only escape from the lingering storm. Step through, and you leave not just a map, but a legend. You have stared into the maw of the Greylorm and lived to tell the tale. Your name will be whispered in fear and respect. You have conquered the ultimate challenge. Until next time.