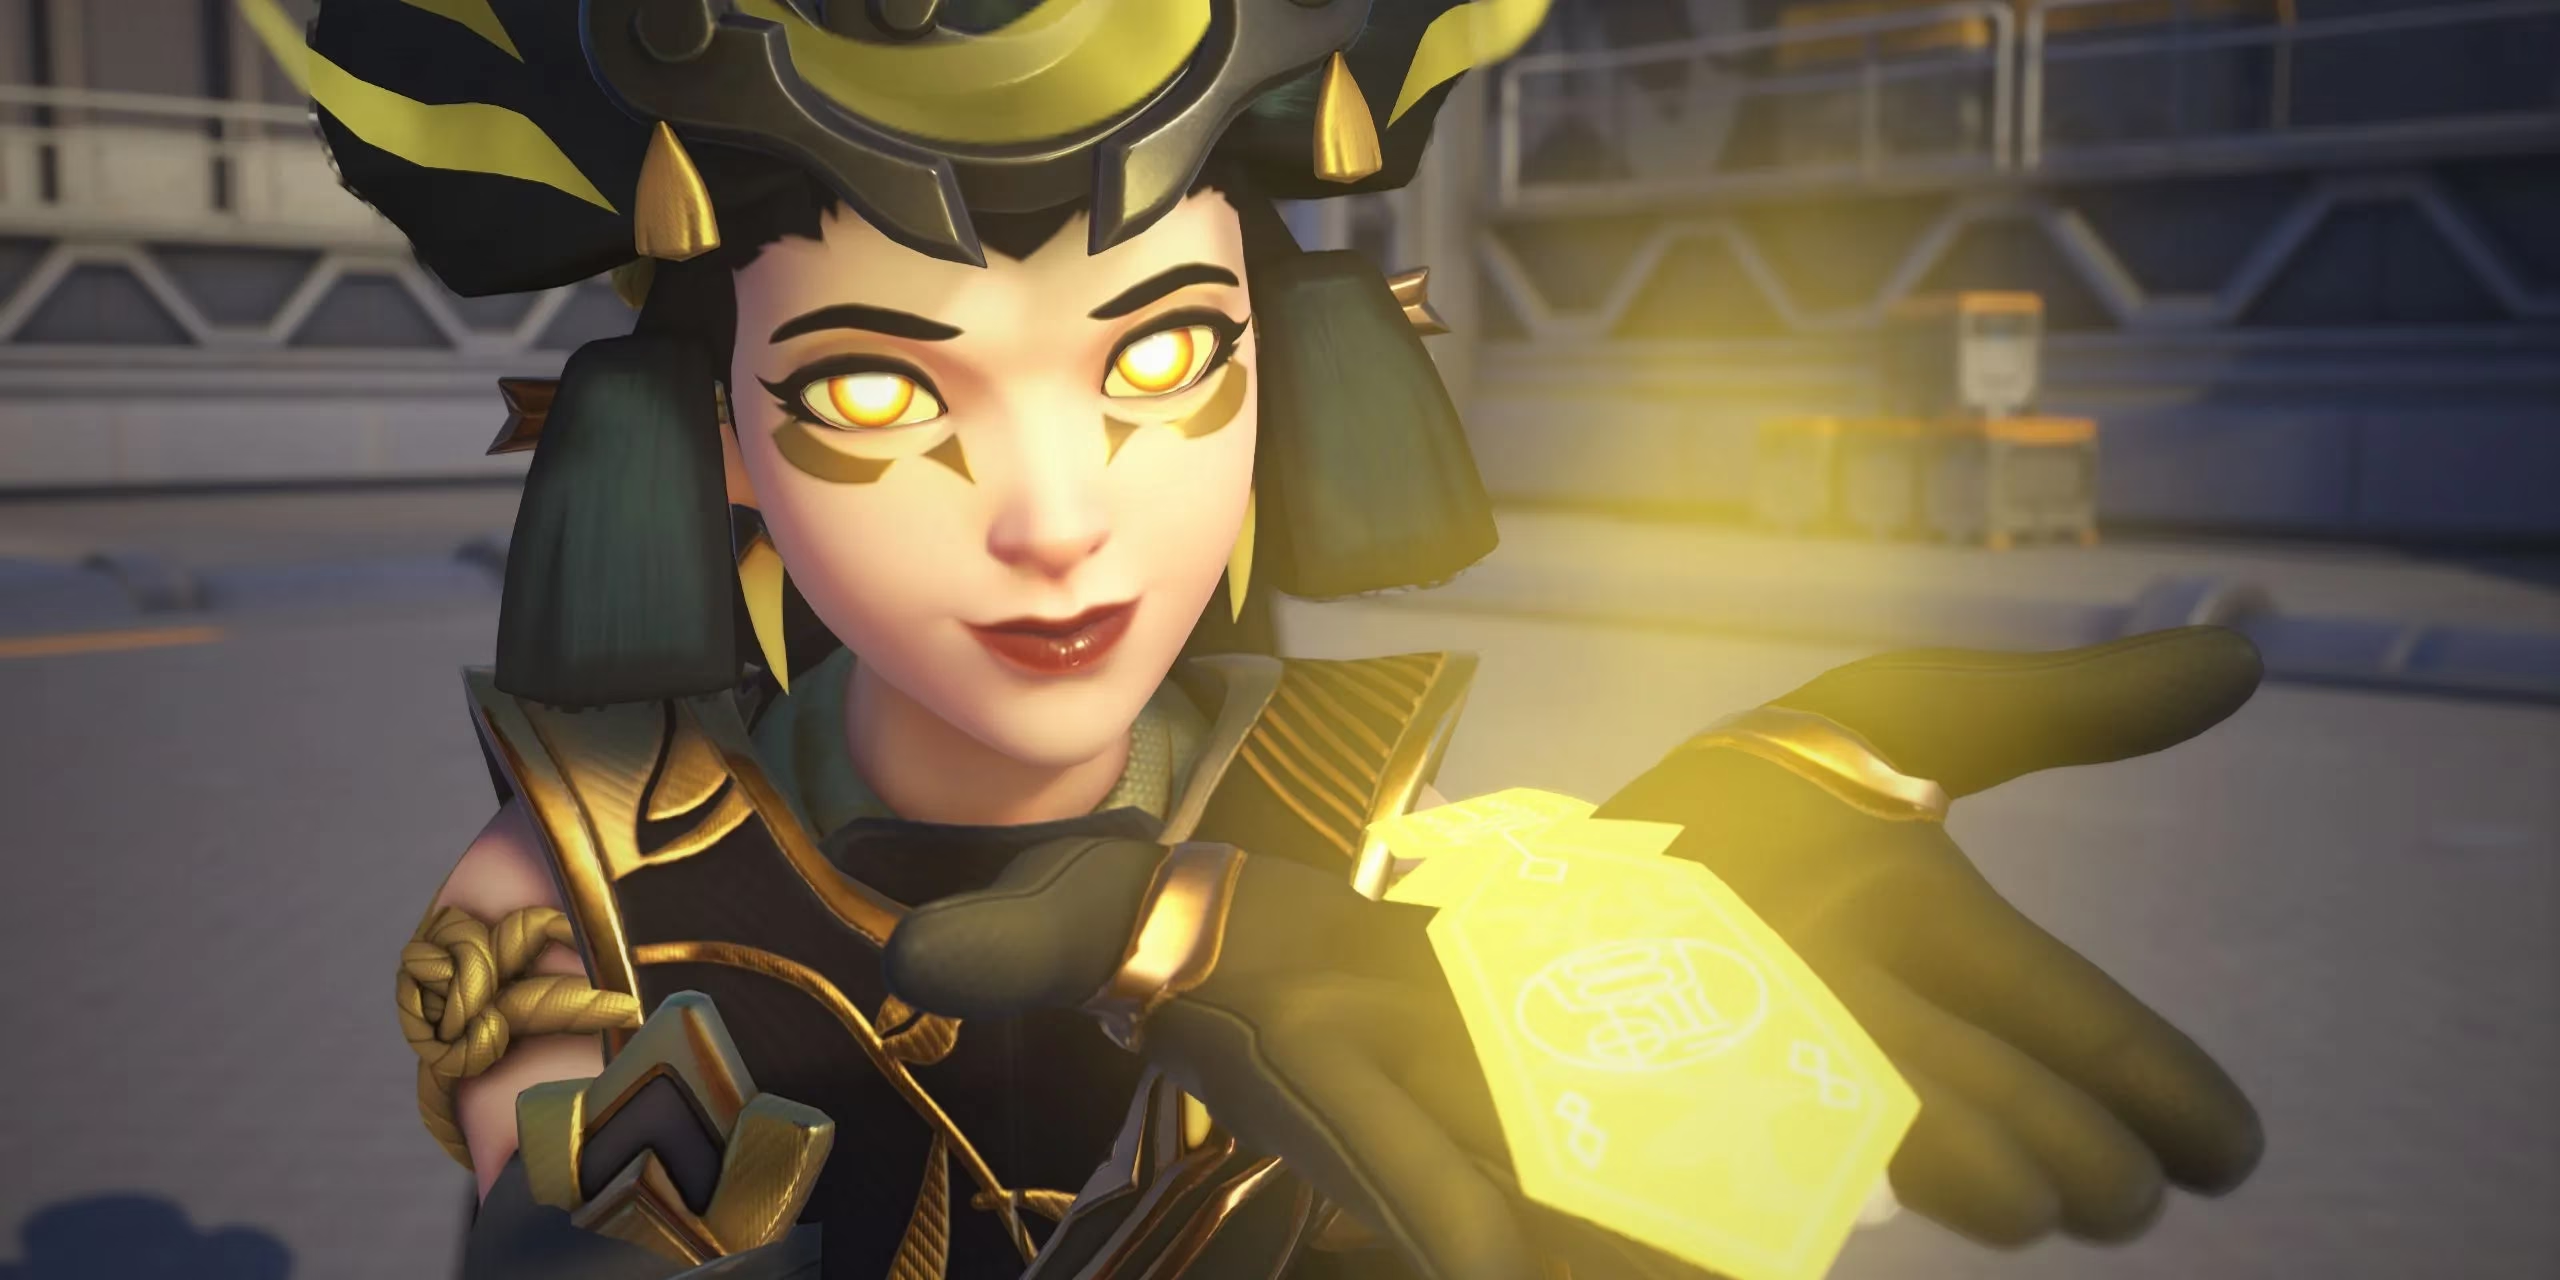
Mastering Kiriko Builds in Overwatch 2 Stadium Mode
Stadium mode has rapidly become a fan-favorite addition to Overwatch 2 since its Season 16 debut, offering a refreshing twist on traditional gameplay. In this format, players commit to a single hero from a reduced roster without counterswapping opportunities, progressing through mini-rounds to earn credits. These credits unlock game-changing Items and Powers across three categories: Weapon, Ability, and Survivability. Players strategically combine these enhancements to create synergistic builds that dramatically alter hero capabilities. Among the diverse hero pool, Kiriko shines as an exceptionally versatile pick, seamlessly fitting into nearly any team composition with her balanced support toolkit. Her dual potential for potent healing and surprising offensive pressure makes her a rewarding choice for those willing to master Stadium's unique progression system.

Why Kiriko Dominates Stadium Mode
Kiriko's flexibility stems from her well-rounded kit that adapts to multiple playstyles. Players often wonder: What makes Kiriko particularly strong in Stadium compared to other supports? The answer lies in her ability to pivot between roles—she can transform into a primary healer, offensive flanker, or utility-focused hero depending on chosen Powers and Items. This adaptability proves crucial in Stadium's locked-hero environment where teams can't adjust compositions mid-match. Another common question arises: How do Kiriko's builds handle the mode's escalating challenges? Through smart Power selection that scales abilities round-by-round, creating exponential synergies with purchased Items. Her ultimate, Kitsune Rush, remains consistently impactful regardless of build direction, providing teamwide speed and cooldown reduction that synergizes with nearly every Item enhancement.
Ultimate Healing & Support Build
This build maximizes Kiriko's lifesaving potential through Protection Suzu enhancements and healing amplification. The recommended Power progression creates a healing powerhouse:
-
Round 1: Two-Zu - Protection Suzu gains extra charge
-
Round 3: Cleansing Charge - Cleansing effects grants 5% ultimate charge per hero
-
Round 5: Leaf on the Wind - Healing Ofuda bounces twice at 30% strength
-
Round 7: Supported Shooting - Healing grants allies 20% attack speed
Items amplify this foundation across all categories:
| Category | Items & Effects |
|---|---|
| Weapon | Plasma Converter (+10% lifesteal) → Farsight Focus Sash (+10% damage, +200% Ofuda speed) → Spirit's Guidance (+15% damage, +100% Ofuda speed) |
| Ability | Power Playbook (+10% power) → Champion's Kit (+40% power) → Iridescent Iris (+20% power, +10% cooldown, 100 Overhealth post-ult) |
| Survivability | Armored Vest (+25 armor) → Talisman of Life (+20% power, Suzu grants 100 Overhealth) → Goddess's Aura (+25 HP, Swift Step grants Overhealth) |

Aggressive Damage & Mobility Build
For players preferring offensive pressure, this build enhances Kunai lethality and repositioning tools:
-
Round 1: Keen Kunai - Critical hits reduce cooldowns by 15%
-
Round 3: Foxy Fireworks - Reloading makes next three Kunai explode
-
Round 5: Fleet Foot - Swift Step becomes directional dash
-
Round 7: Clone Conjuration - Swift Step leaves temporary clone
Itemization focuses on weapon enhancements and survival:
-
Weapon Items: Compensator (+5% power) → Talon Module (+15% power) → The Closer (+20% power, +10% crit damage, reveals targets)
-
Ability Items: Hardlight Accelerator (+10% weapon power, stacking buffs on ability use)
-
Survivability: Phantasmic Flux (+10% weapon/ability power, lifesteal bonuses) → Iron Eyes (+25 shields, reduced crit damage) → Kitsune Kicks (+10% speed, double jump)
Players frequently ask: When should you choose the damage build over healing? This approach excels against dive compositions or when your team lacks flank pressure. The directional Swift Step fundamentally changes positioning options, enabling surprise attacks from unconventional angles.
Advanced Synergy Mechanics
Understanding interaction points between Powers and Items determines build success. For example, Round 5's Leaf on the Wind Power transforms when combined with Spirit's Guidance's +100% projectile speed—suddenly bouncing heals reach distant teammates almost instantly. Similarly, Keen Kunai's cooldown reduction creates ability-spam loops when paired with Hardlight Accelerator's stacking weapon damage. Survivability Items like Talisman of Life turn Protection Suzu into both a cleanse and temporary health pool generator. Players should note: How do late-round Item choices impact earlier Powers? Later purchases should amplify core abilities rather than introduce new mechanics—prioritizing percentage boosts to established enhancements.
Evolving Stadium Meta Considerations
As players master Kiriko, new questions emerge about Stadium's evolving landscape. How will future balance changes impact her Item scaling? What undiscovered Power combinations might emerge as players experiment beyond these foundational builds? With Kiriko remaining a staple pick since Stadium's inception, one must ponder: Which unconventional build path could redefine her role in competitive play?